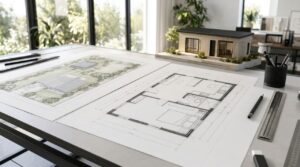
What Is a Site Plan: Definition, Elements and Examples
Planning a home addition, building a garage, or installing a swimming pool usually involves more than deciding where the new structure should go. You also need to show how the




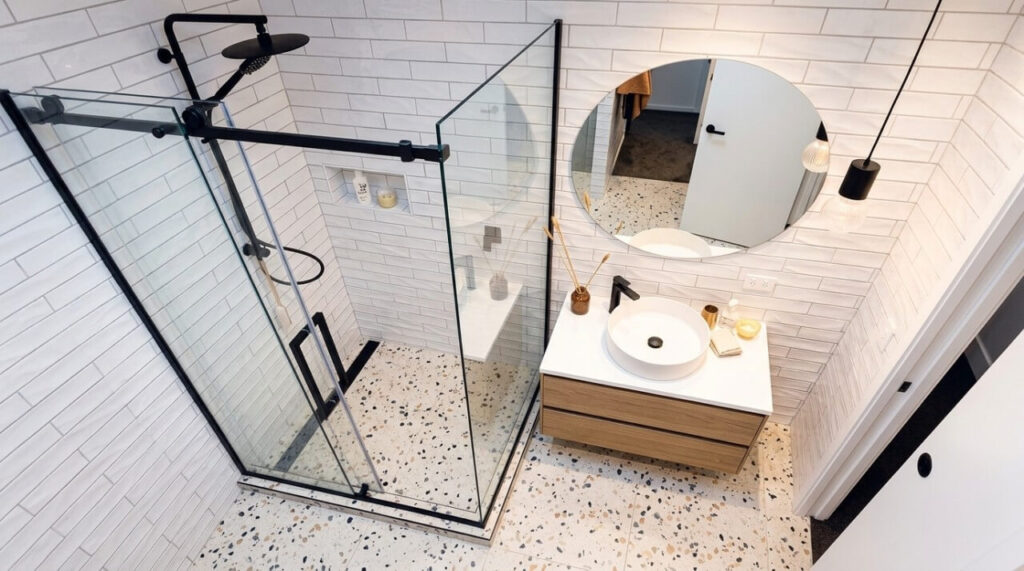

A successful small bathroom layout starts with fixture clearances, door movement, plumbing locations, and the shape of the room. A few inches can determine whether the vanity drawers open properly, whether a shower door clears the toilet, or whether the finished bathroom meets local code.
Long, narrow bathrooms usually work well with fixtures arranged along one wall or a shower across the far end. More square rooms offer greater flexibility for L-shaped layouts and corner showers. Very tight bathrooms can benefit from pocket doors, wall-mounted fixtures, or wet-room planning.
At Get a Site Plan, we work with scaled drawings every day. A floor plan gives homeowners and contractors a clear overhead view of walls, doors, windows, fixtures, dimensions, and circulation before construction begins.
For a small bathroom, that planning stage can reveal conflicts that are difficult to spot from measurements written on a piece of paper.
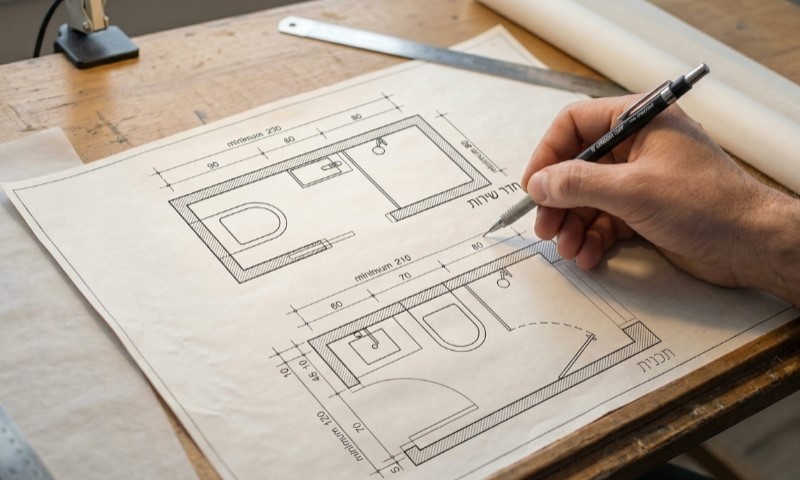
Start with finished dimensions rather than the rough size of the room. Tile assemblies, wallboard, framing changes, and shower finishes can reduce usable space.
Measure the following:
If you already have house drawings, knowing how to read a floor plan helps you identify dimensions, wall locations, door swings, and fixed elements before planning changes.
The 2024 International Residential Code places bathroom fixture spacing under Section R327 and refers to plumbing requirements in Section P2705.1.
Local jurisdictions may use another code edition or local amendments, so treat model-code dimensions as a starting point and confirm the rules with your building department.
| Item | Model-Code Reference |
| Toilet or lavatory centerline to side wall/vanity | 15 in. minimum |
| Adjacent fixtures, center-to-center | 30 in. minimum |
| Clear space in front of toilet/lavatory | 21 in. minimum |
| Accessible clear floor space reference | 30 × 48 in. |
| Accessible circular turning space | 60 in. diameter |
ADA design standards in the table apply where accessibility requirements govern a project. They can also provide useful planning references for homeowners preparing a bathroom for aging in place.
With the basic measurements established, you can compare actual layouts.
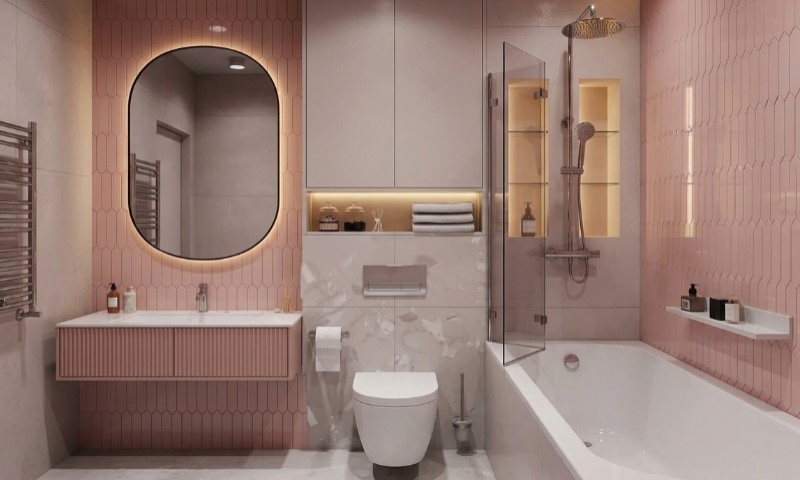
Best for: long, narrow bathrooms.
A single-wall arrangement places the vanity, toilet, and shower or tub on the same side of the room.
A common sequence is:
Vanity → toilet → shower
Keeping major plumbing fixtures concentrated in one area may reduce the amount of drain, waste, vent, and supply-line relocation required during a remodel.
The opposite side remains largely open for circulation, which can make a narrow bathroom easier to use.
For this arrangement, check three details carefully:
A fixed glass shower panel can work well at the far end because it avoids adding another door swing to the room.

A full-width shower can make excellent use of the short end of a rectangular bathroom.
The basic plan looks like this:
| Entrance Zone | Middle Zone | Back Zone |
| Vanity | Toilet | Full-width shower |
Using the entire rear wall can provide a wider shower than a compact corner enclosure while leaving the main circulation route straightforward.
Clear glass preserves the visual depth of the room. A fixed panel with an open entry can also reduce conflicts between the shower and nearby fixtures when the waterproofing and splash-control design support that arrangement.
Measure the shower from its finished interior surfaces. Wall finishes and waterproofing systems consume part of the available width.
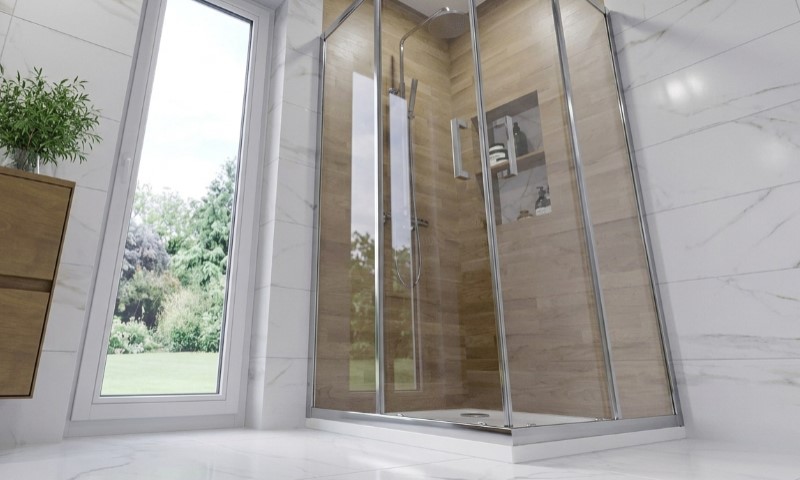
Corner showers are particularly useful when the bathroom proportions are closer to square.
Placing the shower in one corner gives the vanity and toilet access to the remaining walls and keeps the center relatively open.
| Shower Type | Useful When |
| Square | Both adjoining walls have enough length |
| Rectangular | One wall provides extra depth |
| Neo-angle | The center aisle is especially tight |
| Curved | Door and fixture clearances are limited |
Draw the shower entry before buying an enclosure. The open door should clear the toilet, vanity, towel bars, and room door.
Hinged doors create a larger operating zone than many homeowners expect from product photographs.
A small bathroom can still serve as the home’s main family bathroom.
A tub-shower combination places two bathing functions in one footprint and can be particularly useful for households with young children.
A tub-shower layout makes sense when:
The 2024 IRC requires nonabsorbent surfaces in bathtub and shower areas exposed to water, extending at least 6 feet above the floor under Section R327.2.
Avoid choosing a larger vanity at the expense of the approach space beside the tub. In a compact family bathroom, open circulation usually provides greater daily value than a few additional inches of countertop.
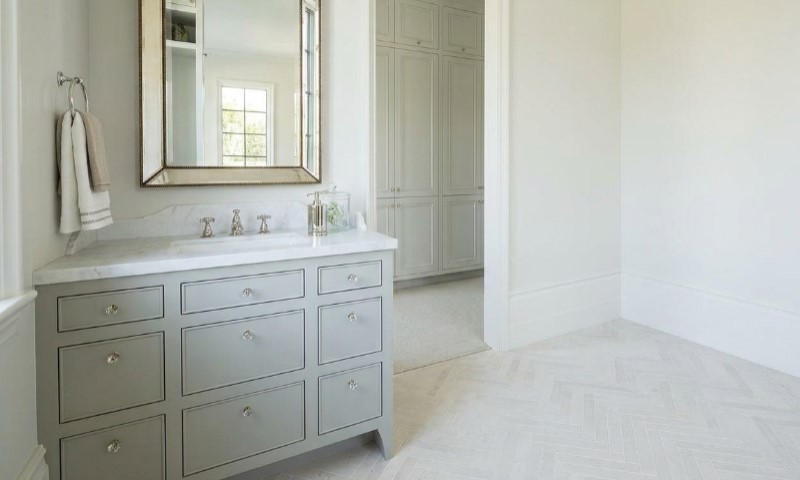
A shallow vanity often fits best near the bathroom door because it usually projects less than a shower or tub.
That leaves deeper fixtures for the far end of the room.
Before fixing the vanity position, confirm that:
Wall-mounted vanities can also expose more floor, helping a compact room feel less crowded while providing space for small items underneath.
Door movement can consume a surprising amount of usable bathroom space.
Three arrangements are worth comparing:
| Door Type | Main Advantage | Main Constraint |
| Inward swing | Conventional installation | Uses bathroom floor area |
| Outward swing | Frees interior space | Needs safe hallway clearance |
| Pocket door | Removes swing area | Requires a suitable wall cavity |
A pocket door can create enough additional usable area for a wider vanity or more comfortable shower entry.
Check the wall before committing to one. Plumbing lines, electrical wiring, HVAC components, and structural framing can occupy the same cavity needed for the pocket-door frame.
An outward-swinging door is another option when the hallway or adjoining room provides adequate clearance.
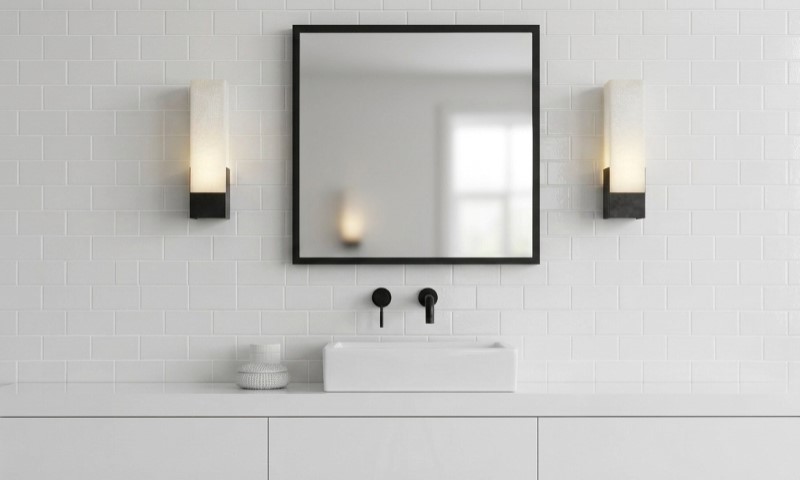
Wall-mounted fixtures can improve a bathroom where floor area is extremely limited.
A wall-hung toilet places the carrier and tank within the wall assembly. A floating vanity similarly keeps the floor visible underneath.
The combination can produce a simpler circulation zone and make cleaning easier.
Planning requirements are more involved than fixture selection alone. A concealed toilet carrier needs adequate framing and service access, while plumbing must align with the system specified by the manufacturer.
Wall-hung fixtures work best when they are included in the plan before framing and plumbing locations are finalized.
A wet-room layout integrates the shower with the surrounding bathroom floor, usually with minimal glass and a curbless or low-transition entry.
The approach can be useful in a very small room because a conventional shower enclosure no longer defines a large permanent box within the space.
Moisture control deserves particular attention. Current EPA remodeling guidance recommends bathroom exhaust fans and states that bathroom exhaust should discharge directly outdoors rather than into an attic or another enclosed space.
EPA also recommends checking that an existing bathroom fan actually moves enough air during a remodel, since motor noise alone does not confirm effective ventilation.
Wet rooms therefore need to be planned around drainage, waterproofing, and ventilation from the beginning.
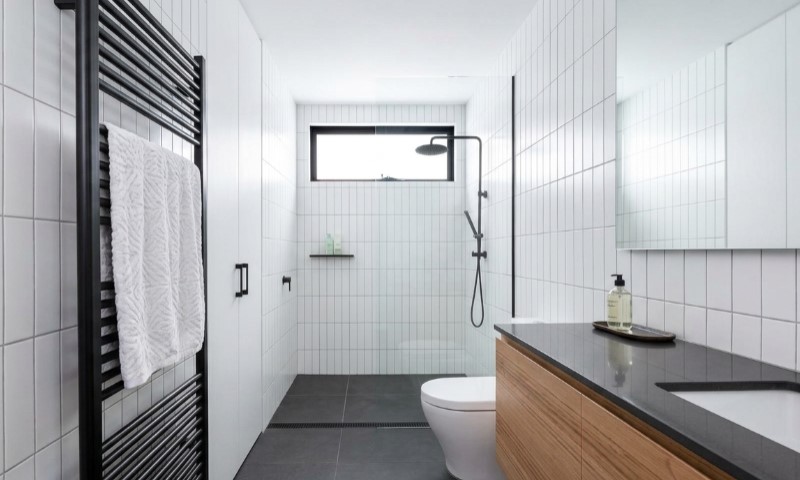
Homeowners preparing a house for long-term use can prioritize maneuvering space instead of filling every available wall with cabinetry.
A useful planning concept is to keep the center of the bathroom open and push permanent fixtures toward the perimeter.
Features may include:
Federal accessibility standards require a 60-inch circular turning space or qualifying T-shaped turning space in applicable accessible rooms, along with a 30-by-48-inch minimum clear floor space at many accessible elements.
Private single-family bathrooms frequently fall outside those federal requirements, yet the dimensions offer useful references when accessibility is a design goal.
The U.S. Access Board standards also provide technical criteria for accessible bathing fixtures, including roll-in showers and required maneuvering space.
An L-shaped arrangement spreads fixtures across two adjoining walls.
One example is:
The layout works well when a square bathroom feels cramped with every fixture pushed onto a single wall.
An L-shaped plan can also help separate the sink area from the bathing zone without introducing another partition.
Watch the inside corner carefully. Vanity drawers, towel bars, shower glass, and toilet clearances can all compete for the same area.
A scaled custom floor plan allows those elements to be positioned and measured before construction begins. At Get a Site Plan, our 2D floor plans can show walls, doors, windows, room dimensions, and fixed installations using information and sketches supplied by the customer.
Room proportions usually eliminate several options quickly.
| Room or Project Type | Strong Starting Layout |
| Long, narrow bathroom | Single-wall fixtures |
| Narrow room with free back wall | Full-width rear shower |
| Nearly square bathroom | Corner shower or L-shape |
| Main family bathroom | Tub-shower combination |
| Very small powder/bath room | Wall-hung fixtures |
| Door conflicts with fixtures | Pocket or outward-swing door |
| Long-term home | Open-center layout |
| Full gut renovation | Wet room |
| Existing plumbing must remain | Layout around current drains |
Existing plumbing deserves extra weight in a remodel. Moving a sink is often simpler than moving a toilet because the toilet depends on a larger waste connection and specific venting arrangements.
Before demolition, mark existing fixture centerlines and compare them with the proposed locations.
Permit requirements depend on the jurisdiction and scope of work.
Cosmetic work such as painting or replacing finishes may fall outside permit requirements in many locations. Projects involving plumbing relocation, electrical changes, structural alterations, new walls, or substantial reconstruction are more likely to trigger permits or separate trade permits.
Our guide to remodeling permit requirements explains the common distinction between cosmetic renovation and work that affects building systems.
Always confirm requirements directly with the local building department before work starts. Permit rules and adopted code editions vary between jurisdictions.
For an interior bathroom remodel, the department may ask for a floor plan showing existing and proposed conditions. Structural, plumbing, electrical, or mechanical drawings may also be required depending on the project.
A bathroom added within a new extension affects the building footprint as well as the interior floor plan.
The permit package may then require information such as:
A construction permit site plan can show the proposed addition in relation to the property when a non-certified site plan is accepted by the local authority.
A site plan and a bathroom floor plan serve different purposes: the site plan places the project on the lot, while the floor plan shows the arrangement inside the building.
It depends on the room shape. Single-wall layouts work well in narrow bathrooms, while corner showers and L-shaped arrangements often suit more square rooms.
Model residential codes commonly require at least 15 inches from the toilet centerline to a side wall or fixture and at least 21 inches of clear space in front. Check locally adopted codes.
Yes. A tub-shower combination can work efficiently when the room has enough clearance for the toilet, vanity, and circulation.
Yes. A pocket door removes the interior door swing, although the wall cavity must be free of conflicting plumbing, wiring, and structural elements.
Mechanical ventilation is often required or strongly recommended, depending on local code and available natural ventilation. Bathroom exhaust should discharge outdoors.
It depends on the work. Plumbing relocation, electrical changes, structural alterations, and new walls are more likely to require permits than cosmetic updates.
Yes. Get a Site Plan can prepare a scaled 2D floor plan using the measurements, sketches, and project information you provide.
Generally, no. Floor plans are prepared remotely from the sketches, measurements, files, and other information supplied by the customer.
Small bathrooms have very little tolerance for planning errors.
Before buying a vanity, shower enclosure, toilet, or tub, draw the room to scale and add every permanent object. Include the full arc of swinging doors and the open position of drawers and cabinets.
Our preferred sequence is simple:
A professionally drafted floor plan can make that process easier to communicate between the homeowner, contractor, and reviewing authority.
Get a Site Plan produces non-certified floor plans and site plans from information provided by customers and available property data. Local authorities decide what documentation they will accept, and some projects require drawings or calculations from a licensed architect, engineer, surveyor, or other professional.
In a small bathroom, successful planning comes down to precise dimensions and sensible circulation. Start with the room you actually have, preserve the clearances people need to use it comfortably, and settle the layout before construction locks every fixture into place.

Planning a home addition, building a garage, or installing a swimming pool usually involves more than deciding where the new structure should go. You also need to show how the
Adding a room to your house costs approximately $48,000 on average in 2026, with many homeowners spending between $20,900 and $72,600. Larger additions, bathrooms, and primary suites can cost considerably

Building a new deck costs $8,321 on average in 2026, with most homeowners spending between $4,339 and $12,653. According to Angi’s 2026 deck cost data, those figures come from more
