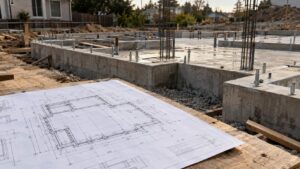
Foundation Plan – What It Is, What It Shows & Examples
A foundation plan is a scaled structural drawing that shows how a building will be supported at ground level. It identifies elements such as footings, foundation walls, slabs, piers, columns,




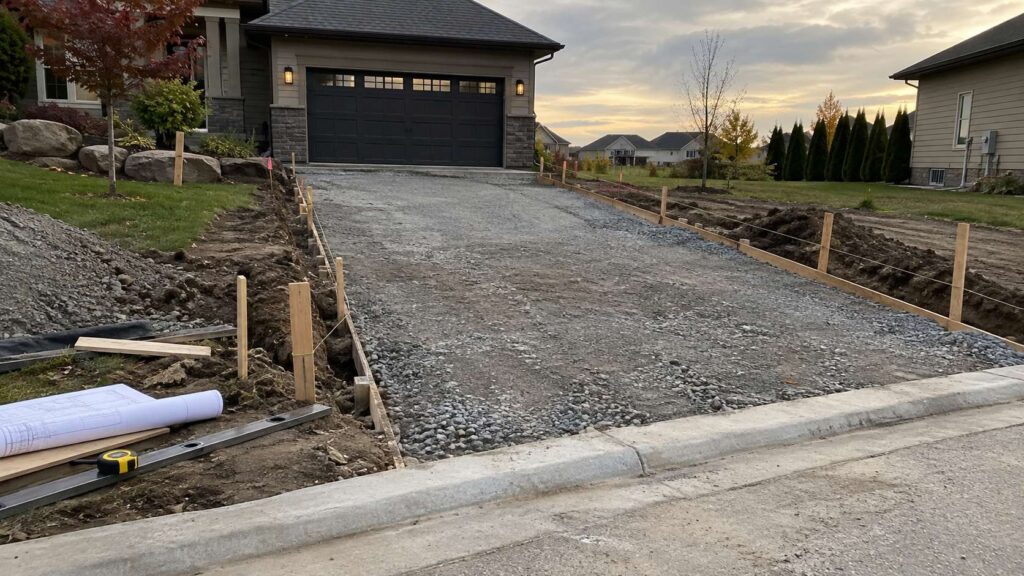

Building a driveway starts well before the first load of gravel or concrete arrives. You need to choose the location and material, check drainage, identify underground utilities, prepare a stable base, and determine whether your city, county, or HOA requires approval.
A gravel driveway is the most realistic option for an experienced DIY homeowner. Concrete and asphalt driveways require more equipment, tighter timing, and specialized installation, so hiring a contractor is usually the safer choice for the finished surface.
Permitting matters too. New driveways, widened driveways, curb cuts, and driveway approaches can require local approval. A scaled driveway permit site plan can show the proposed driveway, property lines, dimensions, setbacks, sidewalk or curb connections, and other features reviewers need.
Our plans are non-certified and produced online without a site visit. They do not replace a licensed surveyor, engineer, architect, or other professional when your local Authority Having Jurisdiction (AHJ) requires one.
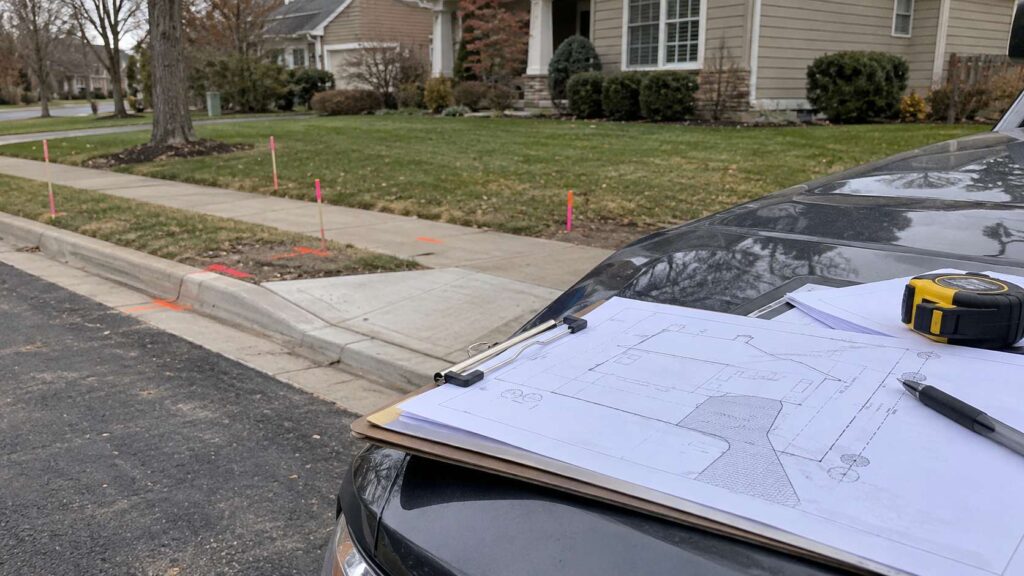
Possibly. There is no single U.S. rule covering every residential driveway.
Permit requirements depend on the jurisdiction, the location of the driveway, the type of work, and whether you are modifying public right-of-way. Building a driveway entirely on private property is different from cutting a curb, crossing a sidewalk, or creating a new connection to a public road.
Seattle, for example, requires a curb cut permit when creating a new driveway through an existing sidewalk curb. Austin also regulates driveway and sidewalk work within the public right-of-way through its permitting process.
Before ordering materials, check with your local planning, building, public works, or transportation department about:
If you live in a managed community, municipal approval is only part of the process. You may also need separate HOA approval before construction begins.
Driveway applications frequently require a drawing showing how the proposed work relates to the rest of the property.
For example, Portland’s residential site-plan guidance calls for applicants to identify driveway dimensions, property relationships, street information, and relevant objects within the right-of-way.
A driveway plan can typically show:
If you are unfamiliar with the drawing itself, our guide explains what a plot plan typically shows and how it is used for residential projects.
Always confirm what your reviewing authority requires before ordering a plan. Some jurisdictions accept a non-certified drawing, whereas others require a survey, engineering work, or a stamped plan. Our certified site plan guide explains the difference between certified and non-certified drawings.
Gravel, asphalt, and concrete are the three common choices. Pavers and permeable paving systems are alternatives when budget, appearance, or stormwater management is a priority.
| Material | Typical 2026 Installed Cost | DIY Difficulty | Main Advantage |
| Gravel | About 1–3+ per sq. ft. | Moderate | Low initial cost |
| Asphalt | About 7–15 per sq. ft. | High | Smooth, practical surface |
| Concrete | About 8–20 per sq. ft. | High | Durable, finished appearance |
| Pavers | Varies widely | High | Design flexibility |
Actual prices depend heavily on excavation, grading, driveway size, local labor, aggregate availability, drainage work, and removal of an existing surface.
Current driveway cost data from Angi puts professional asphalt installation around 7–15 per square foot and concrete around 8–20 per square foot.
Gravel is usually the easiest material to install without a paving crew. It also allows repairs and additional stone to be added relatively easily.
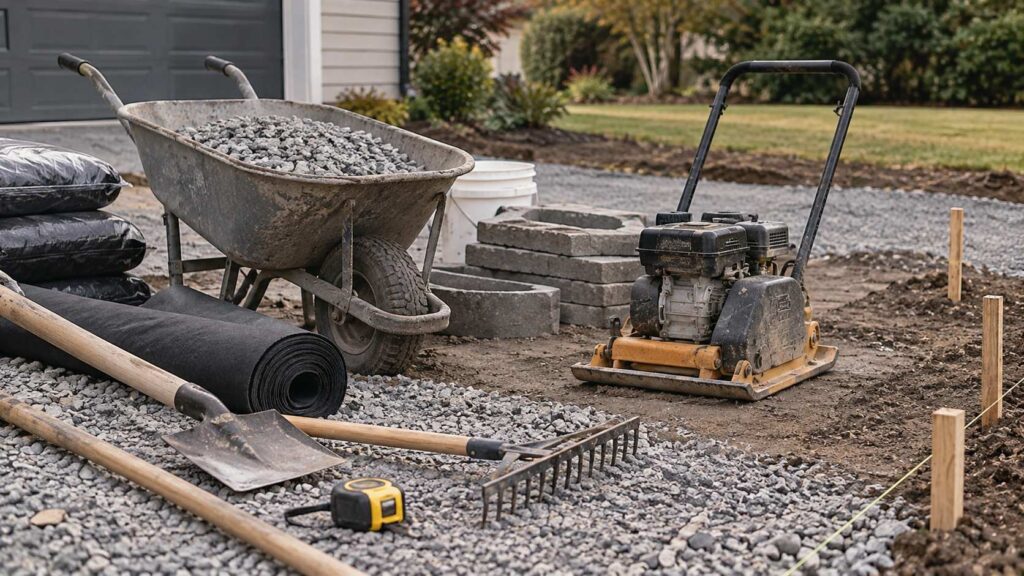
Equipment changes with the driveway design, soil, and surface material. A typical gravel driveway project can require:
Heavy excavation and compaction equipment can usually be rented, although equipment rental can quickly reduce the savings from doing the project yourself.
Before excavating, use the national 811 notification service and follow your state’s required notice period so participating underground utilities can be marked before digging starts.
The exact construction method depends on the surface you choose. The following process covers the basic stages of a new residential driveway.
Start by determining where the driveway will run from the street to the parking area, garage, carport, or turnaround.
Measure the proposed width and length. Look for obstacles such as trees, utility equipment, retaining walls, steep grades, septic components, drainage features, and easements.
Do not assume the shortest route is automatically the best one. Access from the street, drainage, visibility, and local driveway-location rules can change the layout significantly.
For permit work, preparing a scaled residential site plan before construction can make it easier to see how the proposed driveway relates to existing structures, property boundaries, and other site features.
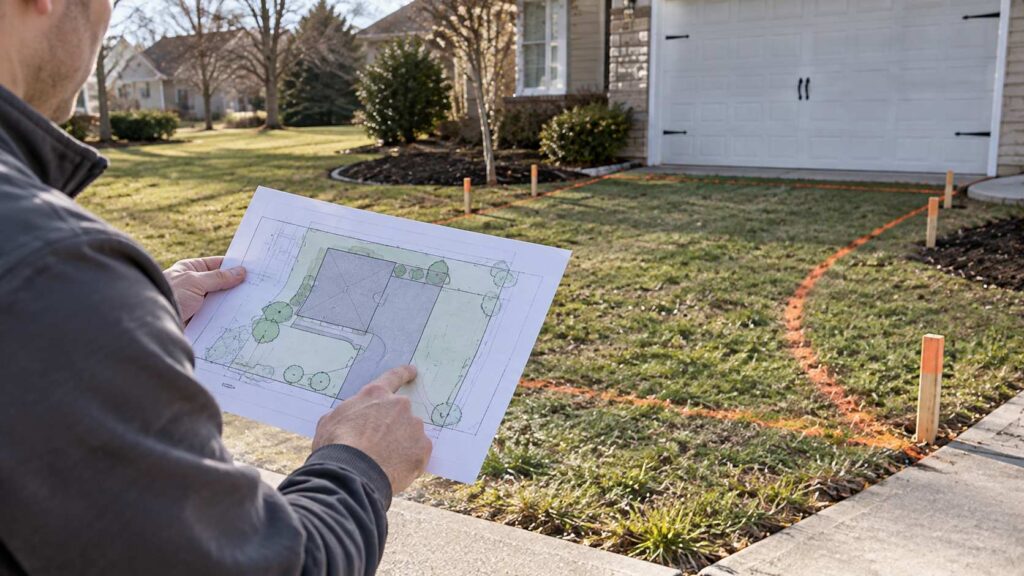
Submit any required permit, right-of-way, driveway, zoning, or HOA applications before disturbing the property.
A project involving a new curb cut or driveway apron deserves particular attention because part of the work can fall within public property or right-of-way.
Do not treat permit approval as a formality. A city can regulate where the driveway enters the road, how wide it is, how it crosses the sidewalk, and how the apron is constructed. Our guide to the building permit process provides additional background on how local approval generally works.
Once the design is approved where required, transfer it to the property.
Place stakes along the driveway edges and connect them with string. Recheck dimensions before excavation starts.
Pay particular attention to the street connection, garage opening, parking area, curves, and any required setback from a property line.
A mistake is cheap to fix when it consists of moving a stake. It becomes expensive after excavation and paving.
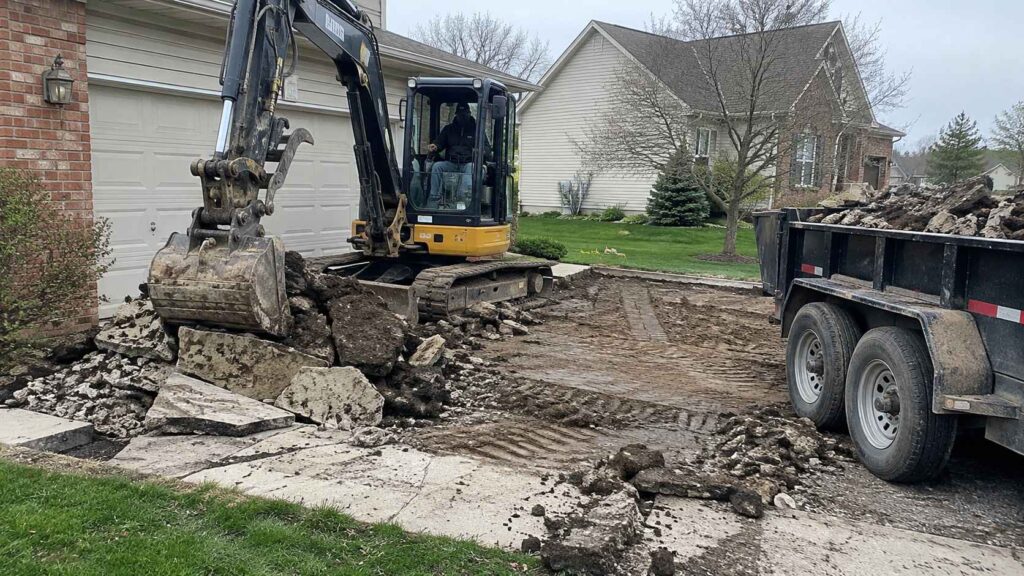
Remove grass, topsoil, roots, old paving, and other unsuitable material from the driveway footprint.
The required excavation depth depends on soil conditions, climate, expected vehicle loads, base design, and final surface. There is no universal excavation depth that works for every property.
Poor soil can require additional excavation or stabilization. Areas exposed to heavy vehicles need more support than a lightly used residential driveway.
If site conditions are difficult, have a qualified contractor or engineer determine the appropriate pavement section.
Water is one of the biggest threats to a driveway.
The prepared surface should direct runoff away from buildings and toward an approved drainage location without creating problems for neighboring properties, sidewalks, or public streets.
Do not guess at drainage on a steep or complicated site. Local stormwater rules can regulate how runoff is handled.
The U.S. Environmental Protection Agency explains that permeable pavement systems can allow stormwater to infiltrate rather than producing the same runoff associated with conventional impervious paving.
Local soil, groundwater, maintenance, and stormwater requirements still determine whether a permeable driveway is appropriate.
A good-looking surface will not compensate for a weak base.
Place the specified crushed aggregate in layers rather than dumping all of it at once. Compact each layer thoroughly using appropriate equipment. Maintain the planned grade as you work.
The goal is a dense, stable foundation that supports vehicle loads and limits movement underneath the finished driveway.
Soft spots should be corrected before the surface material is installed.
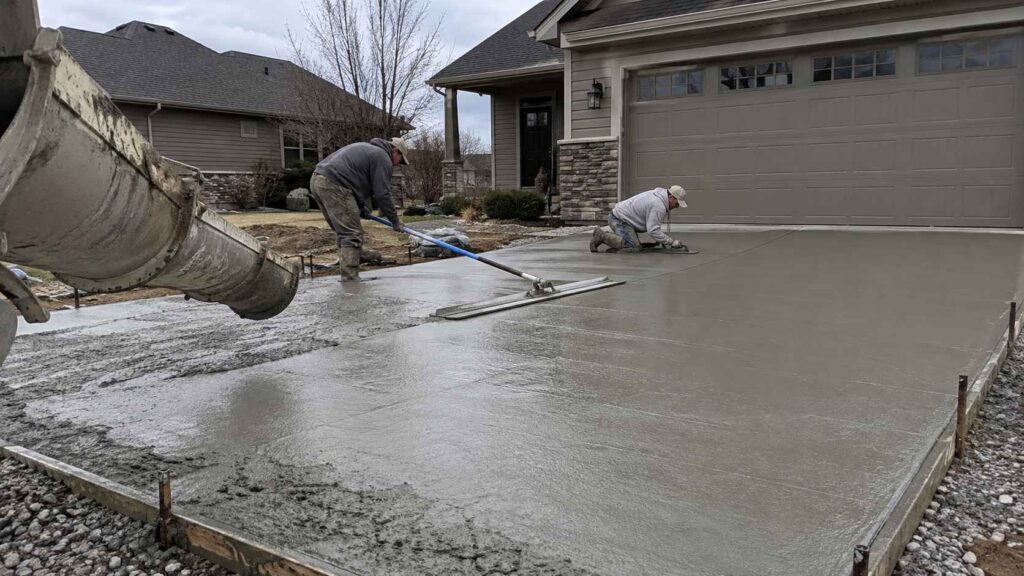
Installation now differs substantially by material.
Gravel: Spread the selected aggregate evenly, shape the driveway, and compact it. Multiple aggregate sizes can be used to create a stable base with a cleaner upper layer.
Concrete: Set forms, prepare reinforcement when specified, place the concrete, finish the surface, form or cut joints, and allow adequate curing. Timing matters, particularly during placement and finishing.
Asphalt: Hot asphalt must be delivered, placed, graded, and compacted correctly. Specialized paving and rolling equipment makes full asphalt installation a poor DIY candidate for most homeowners.
Pavers: Prepare a properly compacted base and bedding layer, set the pavers to the required pattern and grade, install edge restraints, fill the joints, and compact according to the paving system specifications.
Clean up the driveway edges, restore disturbed landscaping, and install any required drainage or erosion-control features.
Do not drive on concrete, asphalt, or another curing surface earlier than recommended by the material supplier or installer.
Your permit can also require inspections. Portland, for example, requires driveway permit inspections at specific stages for permitted work within the pedestrian right-of-way, including inspection of the pavement base or forms before paving or concrete placement.
Schedule required inspections before covering work that the inspector needs to see.
For a typical residential project, the surface area is only part of the calculation.
A professional asphalt driveway currently averages about $5,348 nationally, with many projects falling between roughly $3,150 and $7,548.
Concrete averages around $6,400, although individual projects vary much more widely. Gravel can be considerably cheaper, especially when grading and drainage are straightforward.
Major cost factors include:
DIY work mainly saves labor. It does not eliminate aggregate, delivery, machinery, disposal, drainage, or permit costs.
A poorly prepared $3,000 driveway can also become more expensive than a properly built $6,000 driveway if sections start settling or holding water soon after installation.
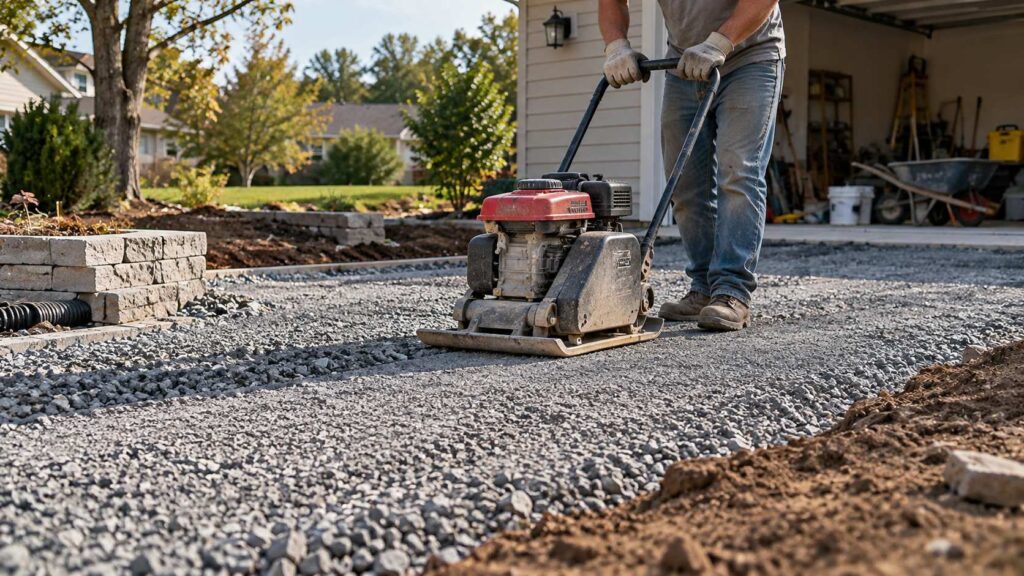
Yes, particularly if you are installing a straightforward gravel driveway on a relatively level property and already have experience with excavation and compacting equipment.
The case for professional installation becomes much stronger when the project involves:
You can also split the project. A homeowner can handle clearing, measurements, or some preparation while leaving excavation, paving, or concrete placement to specialists.
The surface gets most of the attention, although problems usually begin underneath it.
Common mistakes include failing to check permits, building across an easement, ignoring drainage, placing material over unstable soil, using an inadequate base, compacting poorly, and changing the approved driveway location during construction.
Another major mistake is building first and asking about approval later.
If the jurisdiction requires a plan, starting with an accurate drawing is usually cheaper than moving a driveway, replacing an apron, or revising finished work after an inspection.
A driveway is simple in concept. The difficult part is making the layout work with the property, street, drainage, utilities, setbacks, and local rules.
If your city, county, or HOA requests a site plan, we can prepare a non-certified driveway site plan online, typically without visiting the property. We use available sources such as GIS data, satellite imagery, parcel information, and the measurements or project details you provide to draft the proposed layout.
Your local reviewing authority always decides what documentation is acceptable. If it requires a certified survey, engineered drainage design, stamped drawing, or another licensed professional, a standard non-certified site plan is not a substitute.
Confirm the requirements first, get the driveway location approved where necessary, and then start excavation. It is a much easier order than trying to make the paperwork fit a driveway that is already in the ground.

A foundation plan is a scaled structural drawing that shows how a building will be supported at ground level. It identifies elements such as footings, foundation walls, slabs, piers, columns,
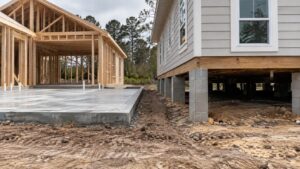
For most new homes, a slab foundation costs less and requires less maintenance. A crawl space costs more upfront, yet provides easier access to plumbing, electrical lines, HVAC components, and
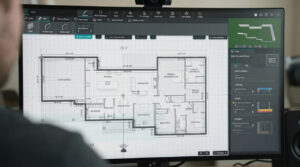
The best site plan software for 2026 includes AutoCAD, SmartDraw, Cedreo, SketchUp, ConceptDraw, ArcSite, ZWCAD, RoomSketcher, and LibreCAD. Each serves a different purpose, from simple backyard layouts to detailed construction
