
25 Best Porch Ideas – Front, Back, Screened, Covered
A porch is one of the most versatile and inviting parts of a home. It’s where curb appeal meets comfort, providing a place to welcome guests, relax with family, or

Contributing Writer | Architecture & Design Writer
To draw a plot plan, you’ll need to learn the fundamentals of technical drawing or design software, as well as focus on careful planning and attention to detail since the document may be used for official purposes.
To guide you through the process—whether by hand or with software—this comprehensive guide covers essential steps like measuring, scaling, and marking key features, ensuring your drawing is both accurate and easy to read.
Let’s get started.
Table of Contents
Toggle
Creating a plot plan, both by hand and software, can be challenging, but with a clear starting point and an organized approach, the process becomes much easier. The key to success lies in properly understanding the land layout to represent the property’s topography and arrangement of features.
Here’s a quick guide to the key steps to keep in mind when planning your plot plan:
Let’s begin with the preparation phase.
Preparation is essential to drawing a successful plot plan. It sets the foundation for your entire project.
This process usually involves two important tasks:
To help you get started, here’s a detailed breakdown of how to tackle both tasks effectively.

As with any plan drawing task, you’ll need to ensure you have the right materials and equipment.
For drawing in software, you’ll need a laptop, but if your option is hand drawing, then you’ll need the following:
Lastly, you’ll also need a measuring wheel or tape measure.
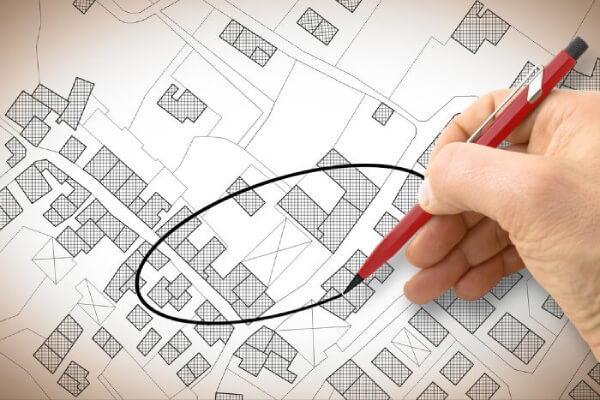
This may be the most important preparatory work, as accurate property measurements and details are critical for a precise plot plan.
Measurements also define the scale of the plot, and a scaled drawing with precise measurements ensures your plot reflects the actual dimensions of the land.
There are several ways in which you can obtain property details, ranging from taking an old one to taking property details by yourself.
The easiest option is to obtain an existing house plan from your county recorder’s office or online.
These documents often include essential information like dimensions, easements, and property boundaries, which are key for accurate plotting.
If you’re unsure how to access these records, our article How to Obtain a Site Plan of My Property explains the process in detail.
For the most accurate results, consider hiring a licensed surveyor. Although more expensive, a professional land survey guarantees comprehensiveness, determining property lines, boundary layout, and dimensions with precise measurements. These are also some of the key distinctions highlighting the main differences between a plot plan vs land survey.
Using a redraw service like GetASitePlan is a straightforward and reliable way to obtain accurate property data without the need for extensive DIY efforts or costly on-site surveys.
These services specialize in gathering the essential details required for a compliant site plan, providing access to professional expertise that incorporates current property records, GIS data, and aerial imagery.
As a result, GetASitePlan offers a practical solution for obtaining high-quality property data that meets legal and regulatory standards.
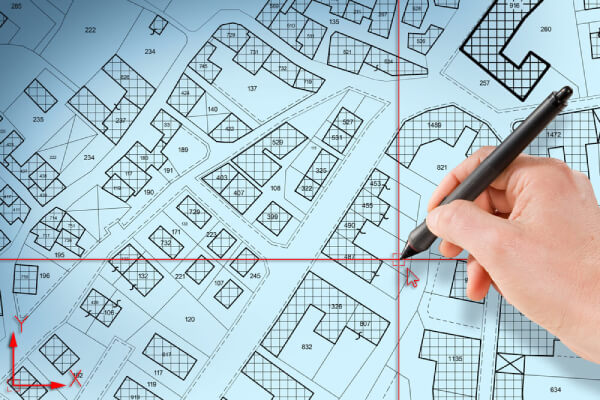
Tools like GIS and Google Earth can be helpful in creating accurate plots, allowing for software integration of survey data and topography to ensure your plan is as detailed as possible.
Many local governments provide access to public GIS resources, which allow you to retrieve property details by entering a parcel number or the property owner’s name.
You can also use open-source tools like Google Earth, which, while not as precise for property boundaries, with the right coordinates can help you mark geographical features—topographical and landscape features (which are included in the blueprint as well).
This allows your blueprint to reflect the topography representation of the site, ensuring a complete and accurate depiction of the land.
If none of the above options are feasible, you’ll need to measure the property yourself. Using appropriate equipment, mark the property lines and measure the distances between structures.
Start by measuring the length of each side from fixed reference points, such as a road edge, right of way, or landmarks.
Also, record the distances between structures and the nearest property lines. If your property has corner markers or survey pins, be sure to include them in your drawing.
These elements—legal boundaries, specific features, and the location of structures relative to property lines—are key factors in distinguishing plot plans vs site plans.
Now, let’s move on to the actual drawing.
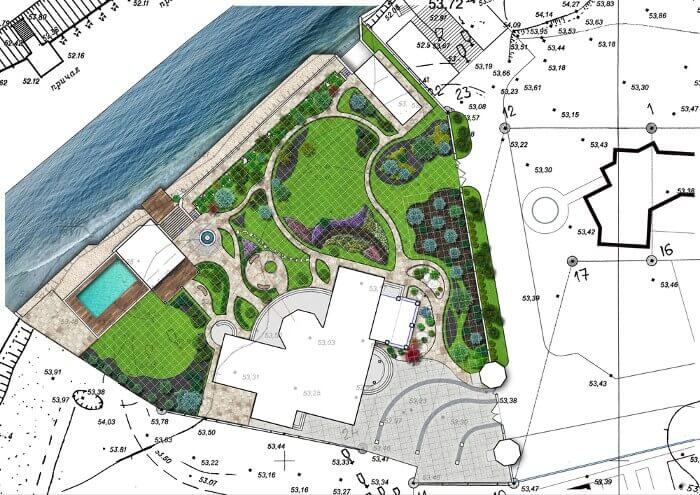
Once you’ve completed the preparation work, it’s time to start to create and draw your plot plan. To make things a bit easier, we provided printable templates with grid squares below, which can simplify the scaling process.
The same steps go for hand-drawn projects and software (it just has different tools for fulfilling necessary steps).
In both cases, follow these steps in order:
Begin by writing your name, address, and street name on the graph paper if you’re the property owner. This will clearly indicate the location of the property.
As the plan should be a visual representation of the landscape and features, draw the property lines and ensure accurate structure indication by marking all existing structural elements, making sure to include the distances between them (as measured earlier).
The plot plan should map out key landmarks/existing structures such as buildings, walls, driveways, sidewalks, bodies of water (like streams or ponds), fences, and elevations.
Information about these site-specific features is vital for building and zoning permit applications.
Dimensions are marked on the plan as well to make it easier to interpret and use for official purposes.
Besides representing property boundaries, a plot plan should also show the location and orientation of structures in relation to them.
Therefore, your plot plan should also show the names of nearby streets or roads. This helps pinpoint the location of your property within the neighborhood.
Since easements can restrict certain activities on your property, it’s important to mark any easements (and other relevant legal information) that may cross your land. This is essential for planning construction or landscaping projects.
Clearly indicate and outline any proposed modifications or additions to the property, such as new structures, driveways, or any other changes you plan to make. These should be visible on the plot plan.

For dimensional accuracy, your plot plan should be drawn to scale, meaning the distances in your drawing should precisely represent real measurements (a good plot includes both accurate measurements and scale, ensuring clarity).
Standard scales for residential plot plans are 1/4 inch to 1 foot or 1/8 inch to 1 foot. Choose the scale that best allows you to include all necessary details while keeping the drawing clear and easy to read. More on this topic, read in Scale for site plan.
Be sure to label each structure clearly, as this will help when you start to draft and align different elements of the plot. Use lines and arrows to indicate distances and dimensions, and ensure all labels for structures, streets, and proposed changes are clearly legible.
The local building department may request additional information when reviewing your plot plan, so be prepared to supply any requested details promptly.
Finally, review your plot plan carefully. Double-check all information and dimensions to ensure accuracy and prevent potential issues. For these purposes, it would be helpful to read our article “How to Read a Plot Plan“.
The steps are similar to drawing a site plan, but there are a few key differences.

Since drawing a plot plan by hand is a traditional option that requires certain knowledge in technical drawing (which includes precision and patience), the easier option for your project may be utilizing user-friendly tools and software.
Today, there is a lot of software that simplifies plot plan design, which you can read about more on our software for site plans page.
Nevertheless, here are the three most common online programs for drawing a plot plan.
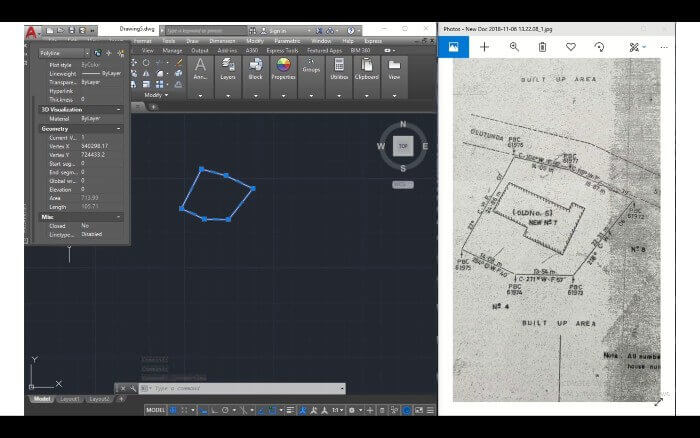
AutoCAD is one of the most popular tools for drafting and construction projects, making it a solid choice for creating plot plans. However, learning to draw plot plans in AutoCAD can be complex, and the software comes with a significant price tag.
Here’s an example tutorial on how to accurately map out property boundaries in AutoCAD, demonstrating its capabilities for precise plot plan drawings.
Chief Architect is a professional-grade software widely used in the industry. It allows you to sketch highly accurate plot plans but requires both a significant time commitment and a $199 monthly subscription, making it more suited for professionals.
SketchUp is a user-friendly option that is ideal for beginners. However, it may lack the technical precision needed for official construction or architectural plans.
The free version has limited features, so you might find yourself needing to upgrade to a paid subscription to complete your project.
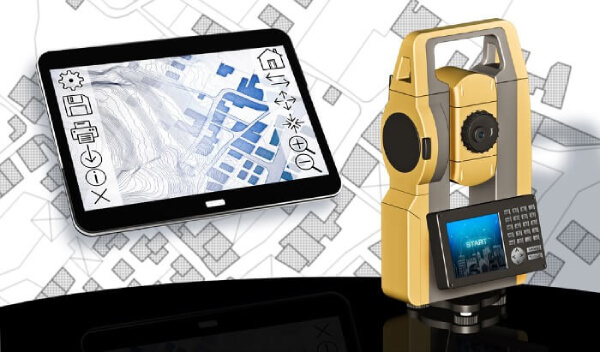
As a homeowner, you have several options when it comes to creating a plot plan. It can be done yourself or by hiring professionals like surveyors, architects, or engineers.
While professionals ensure precise measurements and comprehensive inclusion of all site features, this option can be quite costly due to the need for fieldwork, specialized equipment, and expertise.
On the other hand, while drawing a plot plan yourself is a free option, it requires time to measure the property and attention to detail when drawing lines and other elements.
Even though software tools can simplify the process, there is still a learning curve involved.
Luckily, there’s a third option.
With this option, you can have your plot plan professionally drawn online, often within 24 hours.
A professional redraw service is especially useful when you need a plot plan for permit applications and ensures professionalism through an accurate representation of property boundaries and a clear, detailed layout.
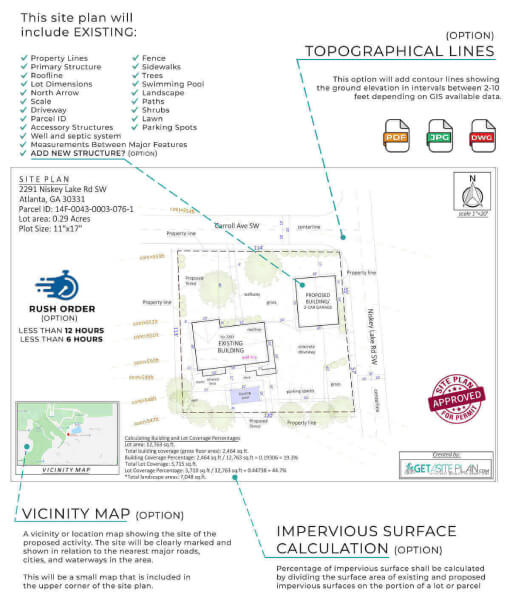
These services are typically performed by experienced professionals using advanced software, ensuring you get a blueprint-quality plot plan with precise measurements.
If you’re confident in your skills and have the time, creating a plot plan yourself can be a great option to learn something new and spare money.
However, if you need it quickly, ordering a simple plot plan online may be more efficient, saving both time and money compared to hiring costly professionals or learning design software.
Learn more about our contributor:

Contributing Writer | Architecture & Design Writer
During my career, I’ve written articles on interior design, home remodeling, and renovation with an emphasis on money-saving tips and DIY ideas. It’s been a rewarding journey and I am thrilled to continue helping others bring their architectural visions to life.

A porch is one of the most versatile and inviting parts of a home. It’s where curb appeal meets comfort, providing a place to welcome guests, relax with family, or

Plot plans and land surveys are invaluable for land ownership or development. They provide detailed insights into a property’s structure and layout. Although these terms are often used interchangeably, they

A well-designed patio is the heart of your outdoor living area, blending comfort, style, and functionality. Whether you have a small urban yard or a sprawling backyard, the right patio